12/16/2025
•
By Gutter Installation Expert at New Orleans Gutter Cleaning Crew
Professional Gutter Installation in New Orleans, LA: Materials, Costs, and What to Expect
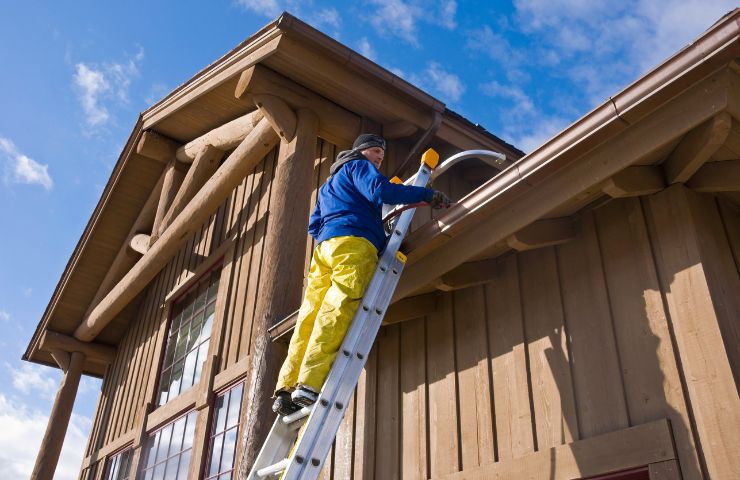
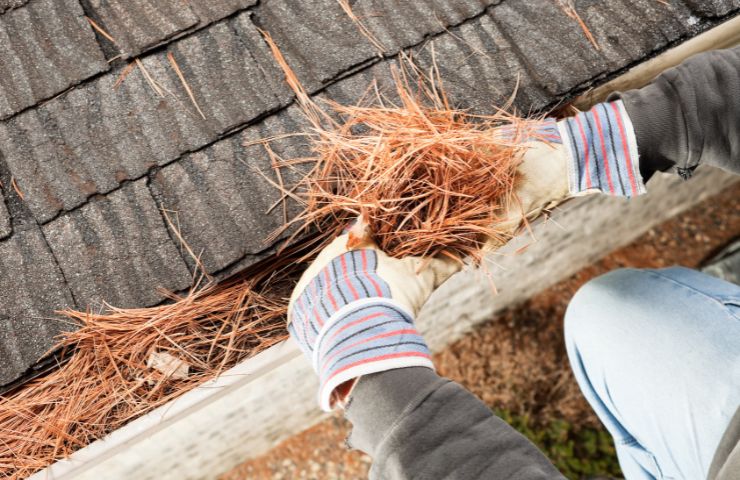
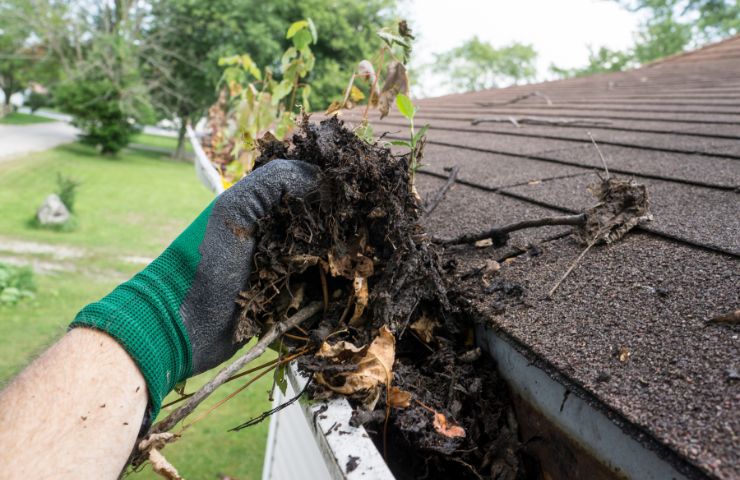
In New Orleans, LA, professional gutter installation is vital for handling heavy rains and hurricanes. This post from New Orleans Gutter Cleaning Crew explores top materials like aluminum and PVC, average costs ranging from $5-$15 per foot, and the step-by-step process. Learn why expert installation matters in our flood-prone city, from initial assessments to final cleanup. With local references to areas like Marrero and Pearl River, discover how quality gutters protect your home's foundation and boost value. Includes tips on maintenance and strong calls to action for service. Serving New Orleans and beyond—call (504) 318-8520 for a free quote today! (178 words)
Read More